
I paired an autumnal brown with a plain black colour, a plain jane kind of blouse. No crazy patterns, just a plain block colour, simple shirt.

Step by step pictures to follow after the jump.
So to begin with I attempted to use hole reinforcers to create with the semi-circle at the bottom of the nail.
 |
| Sorry for an exposed nail photo |
I tried as much as I could to get the corners of the hole reinforcements to stick to my nails and it worked with a few of them but for many of my nails the hole reinforcements kept lifting at the edges. But I carried on regardless hoping that it would help even if only a little. So I then continued to paint my nail with brown polish.

I didn't worry too much about how well I painted them as I knew I would need to tighten up the semi circles. I then went on to remove the hole reinforcers.

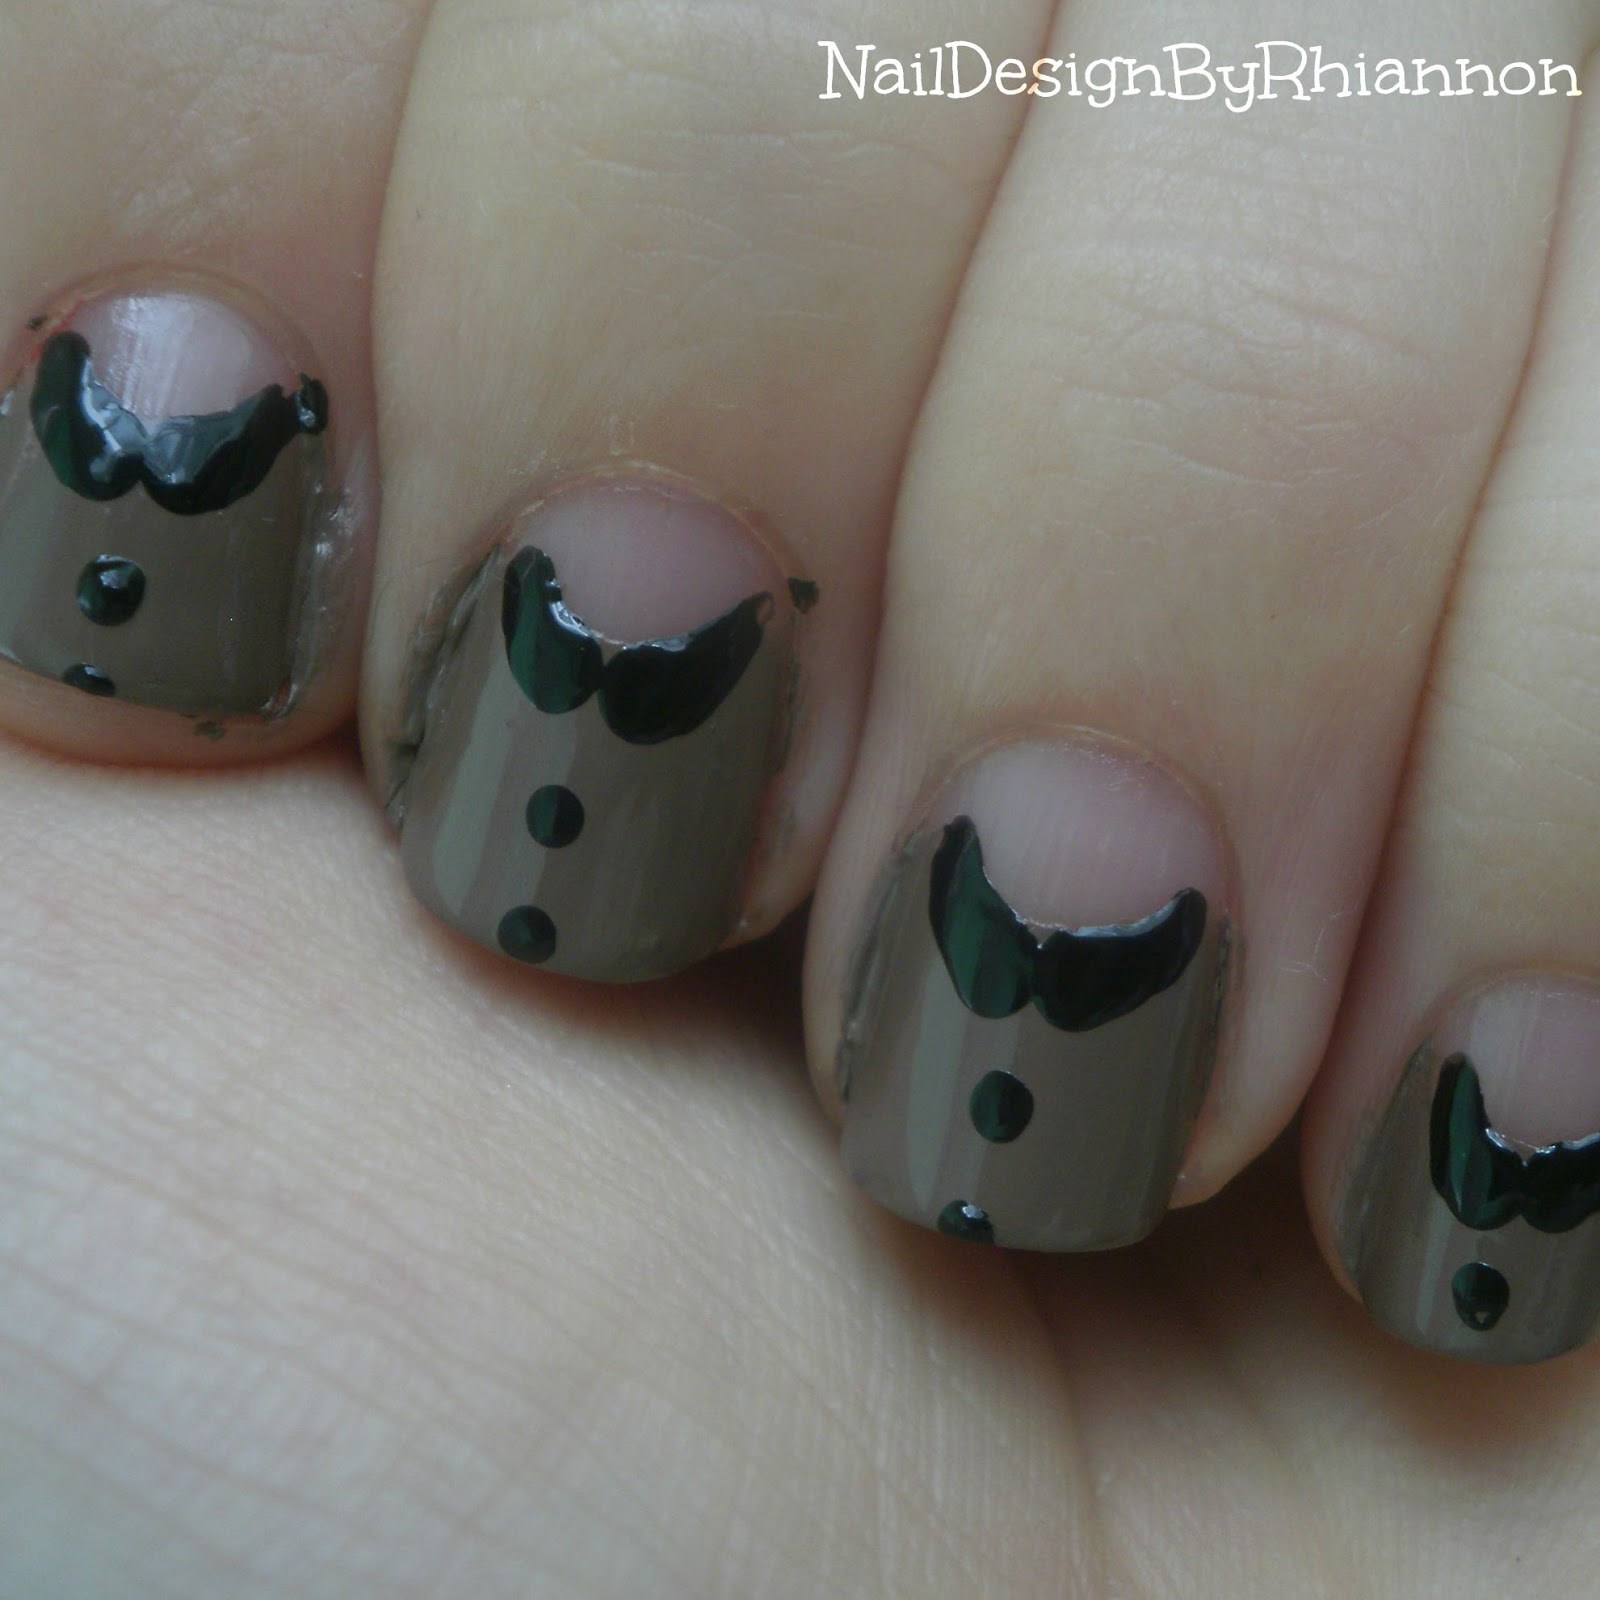
Here you can see the semi-circles produced from using the hole reinforcers were not perfect at this stage but I didn't clean them up yet as the collar also went onto this curve and so would need cleaning up to.
To create the collar I used a dotting tool and placed one dot slightly to one side of the centre at the curve point. Then instead of simply lifting the dotting tool up I dragged it along curve to to side slowing releasing pressure to create the tapered collar. This was then repeated on the second side, and then every nail.

I then added dots down the centre of the shirt to be the buttons.
Now I embarked on the clean up process, which did take a bit of effort as I needed the half moons at the end of the nail to be completely polish-free. To clean up I dipped a short thin paint brush into some nail polish remover and used it to remove the polish from my nail. I found this worked best if after every stroke of the nail art brush it was wiped onto a cotton wool pad and the placed back into the nail polish remover to start all over again.
Once the clean up was done I then coated in a matte top coat, the Barry M one that came top in recent review. One of the buttons did slightly smudge so hold off a little before adding the top coat.


Don't be like me and paint the buttons on your thumbs slightly wonky. It has been annoying me since I realised I had done this.
Hope you liked the design and tutorial, the next post will be the last of the glam nails challenge for September and after that I will most likely post a little less as I will be back at Uni but I hope to get a post up once a week at least.
I'm going to try this nail design soon, when I do I'll tag you in my post :).
ReplyDeletewww.spontaneousnails.blogspot.com
I look forward to seeing it :)
Delete