
Over the weekend the duchess of Cambridge had her second child, a baby girl. So to celebrate I decided to show you this nail tutorial using only three polishes that is worthy of royal approval.
If you have nails of the length shown you should be fine just using the brushes from the polish bottles but if not, like my diddly nails, I would suggest using a small nail art brush so the design isn't too bulky on the nail.

To begin pick out the three colours you want to use, for the arrival of the baby girl, I chose a light pink, a darker pink and a white.

Next you need to paint the nail the background colour, for mine I chose the light pink.


Next your will need to paint four lines in the colour you want bordering the lines, for this I used the darkest colour. Paint the first line straight up the nail, over on one side. The second is a horizontal line halfway up the nail and the third and fourth are diagonal lines in between these two.


Wait for this polish to dry if yours is a darker colour to avoid colour mixing in the next step.
Next is to use the white polish to paint inside the lines just drawn, my white had a smaller brush than the dark pink and so I just used that, if yours is not, scrape some of the paint of the brush, or use a smaller nail art brush. These lines may need two coat depending on the opaqueness of the polish.

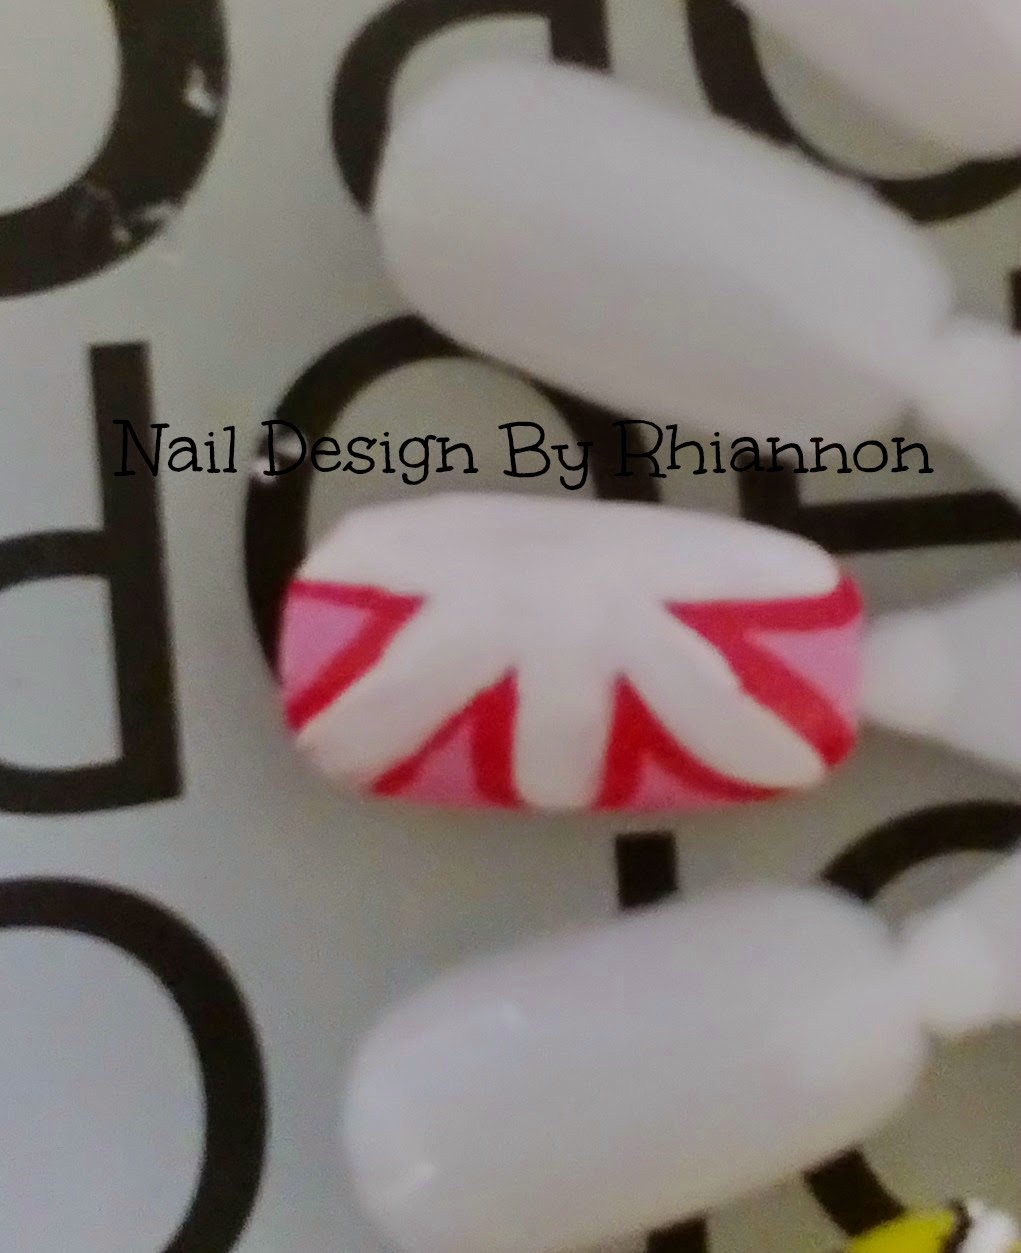
And that's it, simple top off with a top coat to make it last longer and you're done!
However, if this design isn't glitzy enough for you, you can add gems wherever you want, I chose to use the lines as reverence and use pink and purple gems to embellish it. Set the gems into a wet polish and then top with a thick coating of top coat.


No comments:
Post a Comment